
Charging to check exterior
We have cleaned the block by hot tanking. This means the block was submerged in a caustic solution to remove the years of grease build up. After cleaning, the first inspection step will be to check for cracks by “magnafluxing” the block. Magnaflux is one of those words like “Jell-O” or “Kleenex” where a particular company was so dominant in a product or service that their name became synonymous with that product or service. What we are actually doing is called magnetic particle inspection.
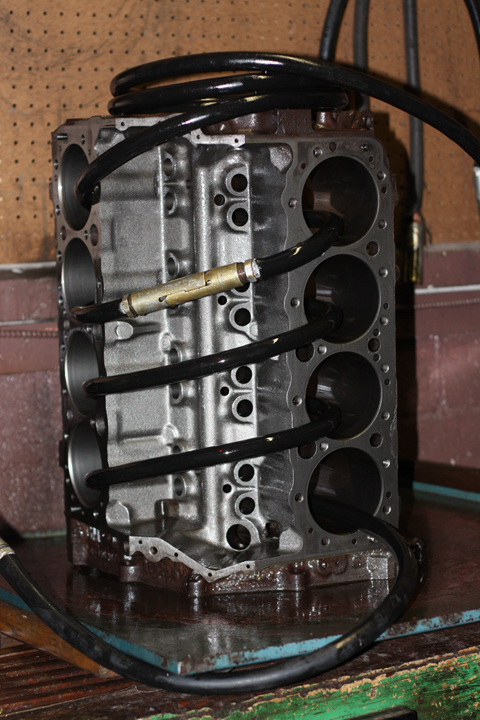
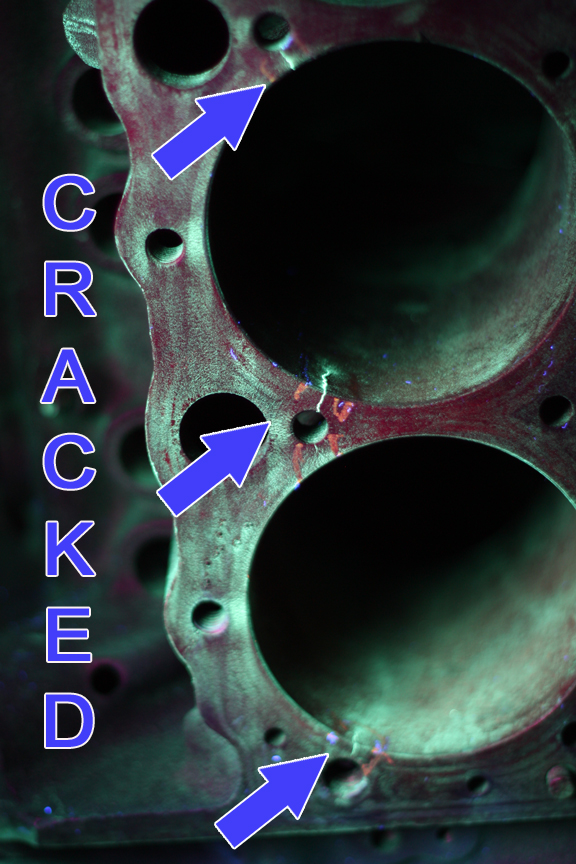
We charge the part with DC current, then spray a solution of very fine magnetic particles suspended in a liquid base such as kerosene, over the part to be inspected. Since any crack in the part would be an interruption in the magnetic field creating a north and south pole, the fine magnetic particles will line up on the crack showing (under a black light) as a yellow line.
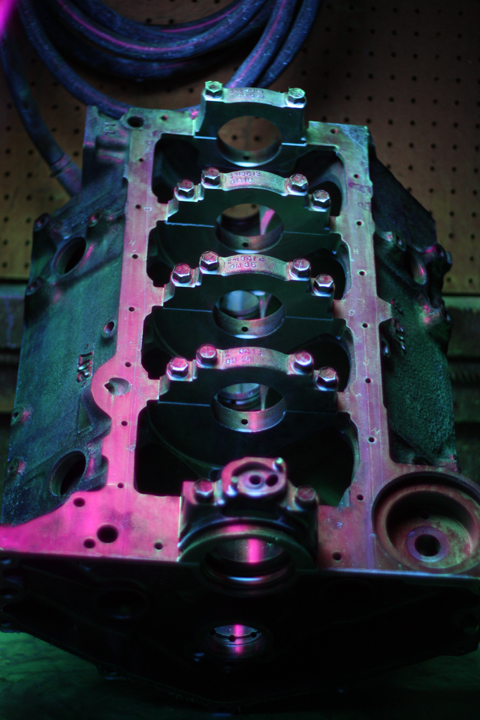

We did not find any cracks, so we will proceed onto our next inspection, checking the line bore. We install all the main bearing caps on the block, paying particular attention to proper location (hopefully they were numbered), and watching for the snap fit into the register of the block. We torque the main cap bolts to proper torque specs and measure each housing bore for proper size and roundness. This dimension is critical to achieve the proper bearing clearance and alignment when it comes time for final assembly. The outcome here was within specs, so let the machining begin!
Next session we will start by zero decking the block followed by boring, and deck plate honing. Maybe we will even have enough time to final wash the block and install the cam bearings and expansion plugs. See you then.